
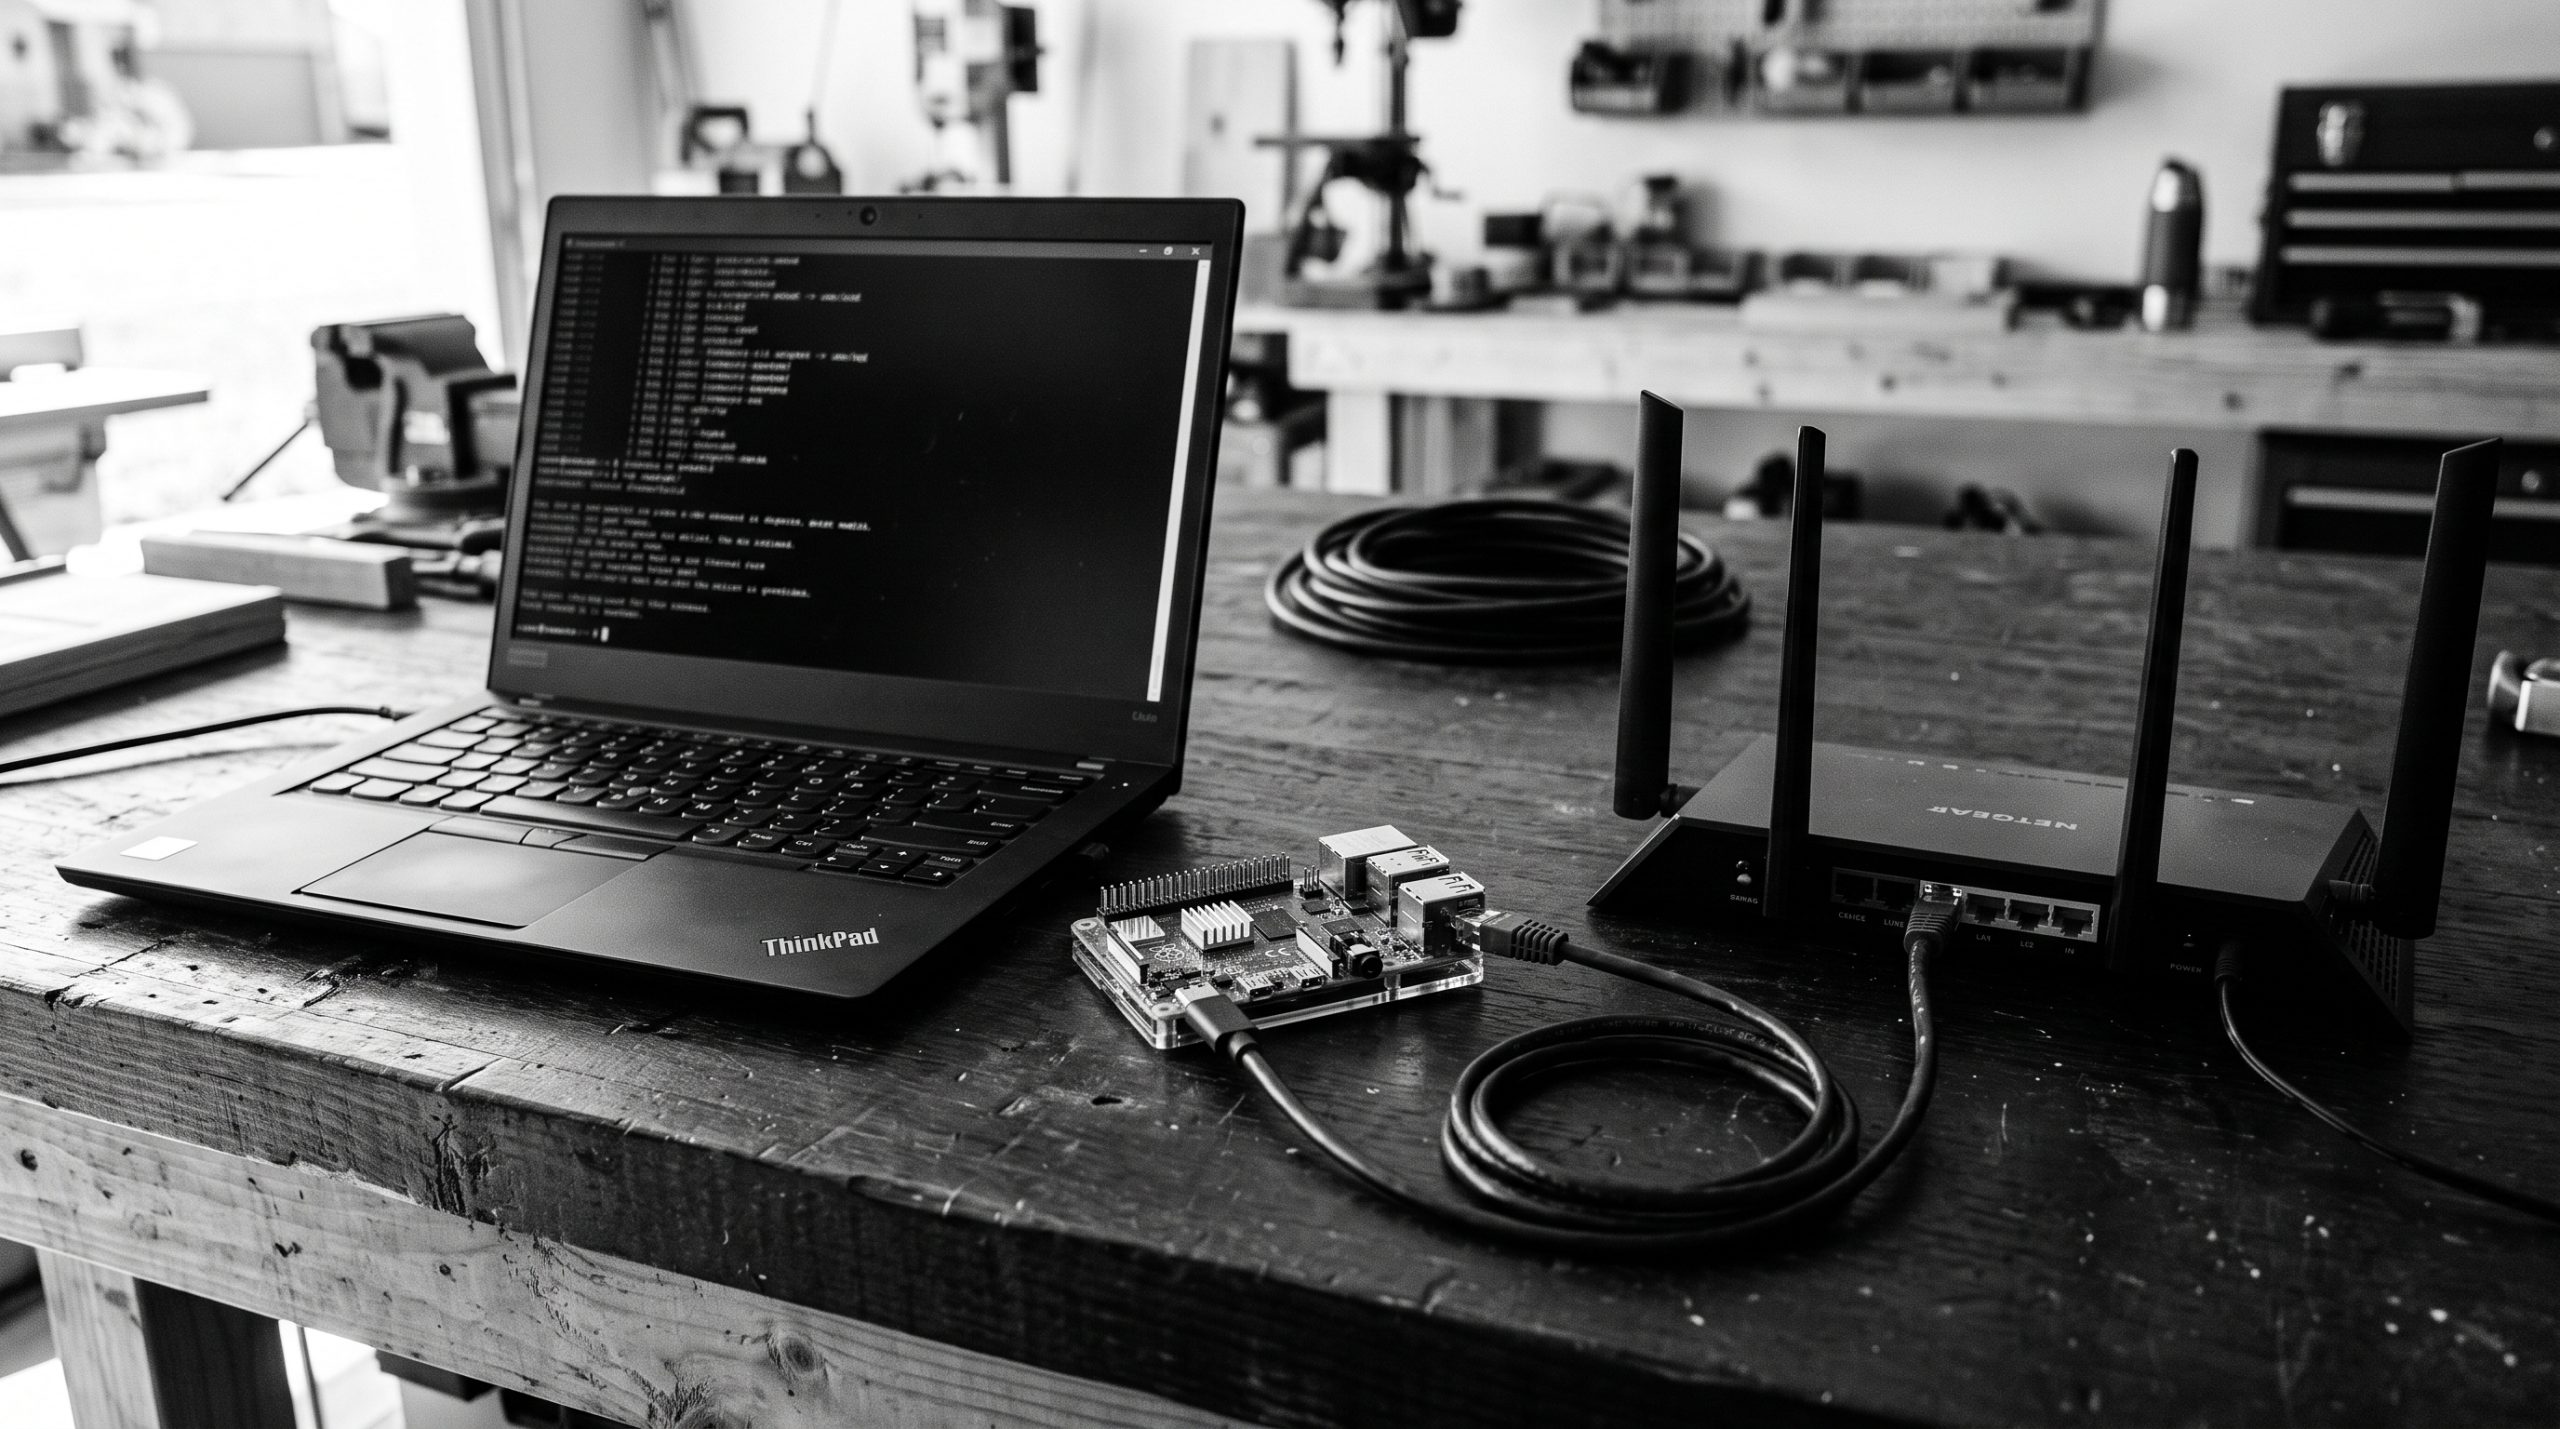
Set up a new Raspberry Pi on Wi-Fi, enable SSH, and connect to it from another computer without attaching a monitor or keyboard. This guide shows the current Raspberry Pi Imager path first, then the older wpa_supplicant.conf method when you specifically need it.
Important version caveat
Recent Raspberry Pi OS releases use NetworkManager and provide Wi-Fi and SSH fields in Raspberry Pi Imager’s operating-system customisation screen. Older tutorials often tell you to place wpa_supplicant.conf in the boot partition; that method is not the preferred setup for a current image and may not be consumed automatically. Use it only with an image or recovery workflow that documents support for it.
What you need
- A Raspberry Pi with Wi-Fi or a USB Wi-Fi adapter
- A microSD card and Raspberry Pi Imager
- The Wi-Fi name (SSID), password, and two-letter country code
- A second computer on the same local network
- A unique Linux username and strong password for first login
Recommended setup: Raspberry Pi Imager
- Install and open Raspberry Pi Imager on your computer.
- Choose the Raspberry Pi model, Raspberry Pi OS variant, and the correct SD card.
- Open the operating-system customisation screen before writing the card.
- Set a unique username and password; do not rely on the old default
piaccount. - Enter the wireless LAN SSID, password, and country.
- Enable SSH and choose password authentication for the first connection, or provide your public key if you already have one.
- Write the image, safely eject the card, insert it into the Pi, and power it on.
Imager customisation is the preferred path because it configures the current network stack and creates the user before first boot. Give the Pi several minutes to boot and obtain a DHCP lease.
Legacy path: create wpa_supplicant.conf
Use this path only when your Raspberry Pi OS image or recovery procedure explicitly supports it. Mount the boot partition on your computer and create a file named wpa_supplicant.conf at its top level:
country=AU
ctrl_interface=DIR=/var/run/wpa_supplicant GROUP=netdev
update_config=1

network={
    ssid="YOUR_WIFI_NAME"
    psk="YOUR_WIFI_PASSWORD"
    key_mgmt=WPA-PSK
}Code language: JavaScript (javascript)
Replace the country, SSID, and password. Keep the file private: it contains your Wi-Fi password. Use straight quotes, preserve the braces, and do not add smart quotes from a word processor. Some special characters in an SSID or password need careful escaping; if the network name is hidden or uses enterprise authentication, use the image’s supported NetworkManager configuration instead.
On older supported images, also create an empty file named ssh in the boot partition. On current images the relevant path after mounting may be /boot/firmware/ssh; the exact first-boot mechanism is version-dependent. Prefer Imager customisation whenever possible.
Find the Pi on your network
Look in your router’s DHCP client list for the hostname or MAC address, or use a network discovery tool from the same LAN. You may also try the local hostname if multicast DNS is available:
ping raspberrypi.localCode language: CSS (css)An IP address is more reliable than a guessed hostname. Record the lease or create a DHCP reservation in your router if the Pi will run a long-lived project.
Connect with SSH
ssh YOUR_USERNAME@192.168.1.42Code language: CSS (css)Replace the username and address. The first connection displays the server’s host key fingerprint and asks whether to trust it. Verify the fingerprint through a trusted local method when possible, then type yes and enter the account password.
Once connected, confirm the host and operating system:
hostname
hostname -I
cat /etc/os-release
Switch to an SSH key
After the first password login, use a key for routine access. On your computer, create an Ed25519 key if you do not already have one:
ssh-keygen -t ed25519 -C "your-computer-to-pi"
ssh-copy-id YOUR_USERNAME@192.168.1.42
ssh YOUR_USERNAME@192.168.1.42Code language: JavaScript (javascript)
Protect the private key with a passphrase. If ssh-copy-id is unavailable, append your public key to ~/.ssh/authorized_keys on the Pi, then set ~/.ssh to mode 700 and authorized_keys to mode 600.
Troubleshoot Wi-Fi
- No lease: check the SSID, password, country, router DHCP, signal, and 2.4/5 GHz compatibility.
- Wrong country: set the regulatory country correctly; do not choose a country just to unlock channels.
- Hidden network: configure it through the current NetworkManager/Imager workflow rather than assuming the legacy file will work.
- It worked once: inspect the router lease and Pi network state after reboot; reserve the address if needed.
Troubleshoot SSH
ssh -v YOUR_USERNAME@192.168.1.42
nc -vz 192.168.1.42 22Code language: CSS (css)
A timeout usually means the address, Wi-Fi, routing, or power is wrong. “Connection refused” usually means the Pi is reachable but the SSH service is not listening. A password failure means the username or credential is wrong. Check the Pi locally with sudo systemctl status ssh if you can attach a keyboard.
Secure the Pi after first login
- Update the OS with
sudo apt update && sudo apt full-upgrade. - Use SSH keys and a strong local account password.
- Keep SSH reachable only from the trusted LAN or a VPN; do not forward port 22 directly to the internet.
- Install a firewall only after confirming SSH access and allowing the SSH service, or you may lock yourself out.
- Back up the key and record the Pi’s hostname, address reservation, OS image, and project setup.
Next step
With remote access working, continue to Build a Raspberry Pi Weather Sensor Dashboard or review the production checklist before deploying a long-running collector.